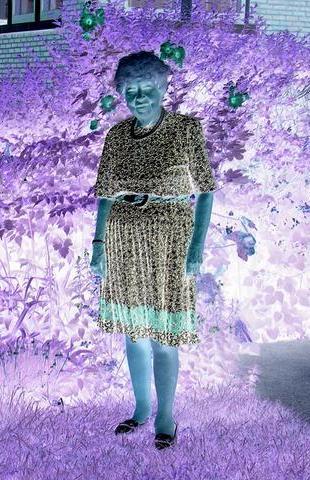
This is the starting image:
-------------------------------------------------------------------------------
1. Crop by holding down the right mouse button and dragging cursor to form rectangle. When button is released, image will be cropped.
-------------------------------------------------------------------------------
2 a. Press X key. This will create 2nd layer with the same dimensions as the first and exchange it with the first layer. This will appear black.
2 b. Hold the Ctrl key down while clicking on Queue>Queue(1). A dialog box will appear and you should enter "255,255,255" (white).
2 c. Hold down Ctrl key and click Basic>"Set Image to Color." "Color" should appear as the last item on the menu bar. Press F2 key and the image will become homogeneous white.
2 d. As in 2b, enter color "0,0,0" (black).
2 e. Press P key and cursor will become circular. (There is a bug under Windows ME and probably 98 and 95 that prevents the cursor display from changing.) Enlarge cursor by holding down numeric keypad + key.
2 f. Place cursor at center of image and make black spot by pressing right mouse button. (Paints the operation that was programmed into F2 in step 2c.)

-------------------------------------------------------------------------------
3. Press P so than paint is off and then crop like this:

-------------------------------------------------------------------------------
4 a. Press X to exchange layers. The crop from step 1 should appear. Write down the dimensions shown in the first pane of the status bar.
4 b. Press X again to show the spot.
4 c. Click Resize>Bilinear and enter the width and height from 4a and set Precedence to "Width and Height."

-------------------------------------------------------------------------------
5. We will want to blur the image in step 4, but this could take a long time for a large image. It might be quicker to blur a small image and then enlarge the blurred image. To this end, Click Resize>Lanczos and enter Horizontal Scale Factor = 0.25 and set Precedence to "Horizontal Scale."
-------------------------------------------------------------------------------
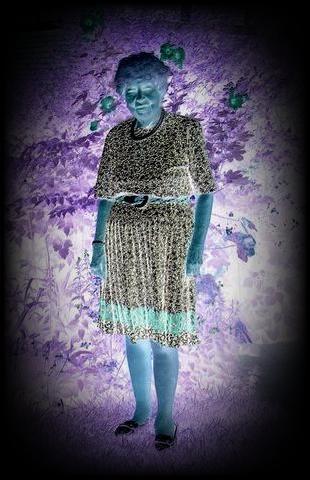
6. Click Blur/Sharpen>"Fast 3x3 Average," and set Iterations = 100. The following should be the result:

-------------------------------------------------------------------------------
7 a. Enlarge as in 4c, except use Lanczos.
7 b. Click Basic>Negative.

-------------------------------------------------------------------------------
8. Press X to bring up first crop. Click Basic>Negative.
-------------------------------------------------------------------------------
9 a. Click CSpace>log CMY.
9 b. Click Layer( On)>"Set F2/F3 to Add/Subract Layers."
9 c. Press F2 key.
-------------------------------------------------------------------------------
10 a. Click CSpace>RGB.
10 b. Click Basic>Negative. Finished!